LED light bars are popular among automobile lighting fans. Not only are they energy-saving but you also can choose from a lot of variable colors, and powerful illumination. Not only that, they are also able to improve road visibility when off-roading and are extremely dependable in inclement weather. You do not even have to go somewhere to install it. You can do it right at your very own garage. We will discuss all about how to install LED light bar(s) in this article.
⚠️ If It's Broken, Don't Fix It - Get Paid Cash for Your Vehicle ⚠️

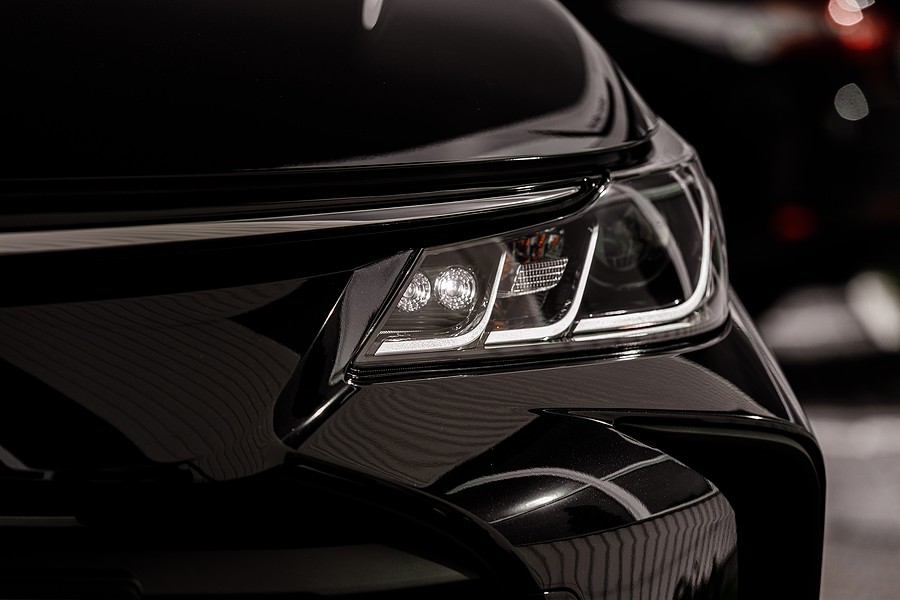
What is a LED Light Bar?
Before we discuss how to install LED light bar(s), let us first discuss what exactly is a LED light bar. Cars had headlights, brake lights, and indicators in the past. In addition to the conventional vehicle lights, many cars now incorporate a light bar. These light bars provide additional lighting while using less energy, making them gentler on your battery and other drivers.

The device attaches to the roof (or other parts of the vehicle, but usually the roof) of a truck or SUV to give additional lighting. Many people who own modified trucks enjoy going off-roading or driving in dark, unlit areas, and having the light bar may make these activities much more enjoyable and safer.
People who wanted to drive their vehicles in dark areas used to stack headlights on top of headlights until they achieved the desired output, but the aftermarket eventually caught up to demand and began offering various solutions — the first being KC HiLites, as can be seen in the movie Back to the Future's famous car. While these were stylish and provided plenty of light, they required far too many bulb replacements, and the amount of electricity they required may make installation difficult.
Eventually, LED light bars came to the limelight. LED light bars may produce a lot of light while utilizing a tiny amount of electricity. They are also far more dependable than halogen and operate at significantly lower temperatures. The original cost of LED was a deterrent, however this has dramatically decreased in recent years.
Light bars allowed off-road enthusiasts to have a lot of light without having to spend too much money and effort. Without consuming too much electricity, and without having to build a heavy-duty headache rack to connect halogen lights. Light bars can now be found practically anywhere as a practical alternative. But it is important to take note that LED light bars are illegal to use on streets and highways in most states. As a result, it's critical to check your local traffic laws before installing one on your vehicle.Now you just have to know how to install LED light bar(s).
Picking The Right LED Light Bar: The First Step
The first step before considering how to install LED light bar(s) is choosing the right light bar.
- Buy max lumens that you can afford and can supply your needs
If you're trying to outfit a car for outdoor activities you will want to pay attention to the lumen output of different light bars. A light bar provides more light when there are more lumens available. As a result, you should focus on buying the maximum lumen output light bar you can afford that you would also find fit for your needs.
- You can buy it waterproof
Your concerns are a little different if you're shopping for a light bar for a commercial vehicle, most especially if you need to be driving the vehicle in inclement weather. You have to be sure your light bar has a waterproof housing.
- You can buy according to design or aesthetic you need
The LED light bar is available in a variety of finishes, allowing you to choose your favorite look. You should also consider where you want the light bar to be mounted. It can be mounted on the roof of the cab, the front bumper, the grill, or the brush guard. You should also consider how the light bar is installed in order to conceal the wiring as much as possible.
The light bar market provides a variety of options for this purpose. Pay attention to the size of the light bar. Those under four feet long can usually be installed anywhere, however those five feet and higher are usually limited to being mounted on top of the cab. Make sure the bar you buy is the right size for your truck.
Pay attention to the light bar's included accessories. Some are entire installation kits, while others are simply the light bar. To install a single light bar, you'll need mounting brackets, a relay, a switch, wiring, and bolts. Light bars come in a wide range of colors. Color output may surely add to the cool factor when creating a show truck, but it can also be used in practical applications. For example, different colors can indicate whether a truck is empty or full.
- Choose according to the technology you need
Another item to consider is technology. Although the majority of light bars feature a manual switch, some also have Bluetooth technology. This allows you to control the light bar from outside your vehicle using an app. The good news is that installing a light bar is rather straightforward (this is part of the reason they are so popular). All you'll need are basic tools like an allen wrench set, a socket and ratchet set, and an extension.
How do you install LED light bars at home?
No matter the design and style, how to install LED light bar(s) is simple and easy and can be done at home. Here are the steps:
- Do the prep work for the vehicle.
To ensure safety, disconnect the car battery first. Remove the wire from the ground terminal first, then the positive terminal, to avoid shorting it. You can leave the positive terminal attached if you only remove and isolate the ground terminal from the battery. However, simply removing the positive terminal isn't enough to prevent a short between the frame and the positive battery terminal.
- Set up the LED light bar.
It’s now time to Install your light bar after you've finished preparation. You must now decide where to put the light bar. When picking a mounting place, it's crucial to think about sturdiness. It's also crucial not to drill any holes in the passenger compartment that might allow rainfall to enter. Wherever you drive off-roading, your mounting points should be strong enough to keep your light bar in place.
Again, don't drill holes that will allow water to escape into the vehicle's interior, but if you need to secure the bar to thinner metal, use “fender washers,” which are huge washers with small holes created specifically for this purpose. Other than avoiding causing leaks in the passenger compartment, no other car components should be harmed during the light bar installation.
During the installation, protect your eyes by wearing sunglasses. Using a marker pen, make your holes (most light bars come with a printed paper template). Before drilling, use a center punch to keep the drill bit from “walking” while it spins. Unless you're using a Unibit, start with a small drill bit and work your way up to the larger, correct-size bit.
Bolts and nuts are a suitable alternative for mounting the light bar (self-tapping screws aren't a good choice unless they're the only option). Use a flat washer under the bolt head and a flat washer and a lock washer under the nut, with the lock washer closest to the nut. Fasteners and specific washers are included in most light bar kits.
Don't tighten the bolts entirely until you've completed all of the necessary mounting modifications, and don't tighten any of the fasteners (nuts and bolts) until they're all in place. Don't fully tighten the bolts until you've performed all of the necessary installation modifications.
Buy or Build your own wiring harness.
Mounting brackets, wires, nuts, and bolts are included in most LED light bar kits. A wire harness is usually supplied as well. If not, you may always buy it separately or create a harness if you're confident, but make sure you have an in-line fuse when you connect to the B+ power source. If the bracket doesn't have a hollow channel for the wiring, feed the wires through a loom, then secure the wire harness with black wire ties or harness straps if you're making the harness.
When purchasing a wire harness, keep the LED light bar type and your vehicle's wiring system in mind. The LED light will come with wires and a fuse holder if purchased new. When it comes to wire routing, be as clever as possible. The more time you spend doing things correctly, the less probable it is that the power wire(s) will short to ground and blow the fuse.
To accurately identify your wires, make sure your wiring harness is untangled. A switch, a red power cable, a black ground cable (both with ring terminals), a relay, and a pair of connector wires (negative and positive) for the light bar are included in the harness.
- Place the switch in its proper location.
To get to the dashboard, disconnect the switch wire segment from the main harness, then route and find your way through your firewall. Use an adhesive kind to attach the switch to the desired area after you've found it. Reconnect the switch's other end wiring line to the wiring harness.
Other switches will come with a bracket that screws into place under the dash, and some installers may want to put the switch in an existing switch plug (which is where OEM switches would be on some dashboards if the vehicle had been built with more options). Use caution when routing the wires wherever the switch is installed, and if possible, secure them to existing harnesses. Route the harness away from sharp bracket edges and/or moving components under the dash. Follow the same guidelines in the engine compartment, and keep the wiring away from hot exhaust components.
- Place the relay and the cables in their proper locations.
The relay can be mounted anywhere on your firewall as long as it is close to the battery. After that, take the red positive cable and connect it directly to the battery's red terminal. Attach the black negative cable to the chassis, on the other hand, to ground it. Make a point of neatly tucking superfluous wires and cables into the engine compartment and avoiding placing them near high-heat zones.
Make a point of neatly tucking excess wires and cables into the engine compartment and avoiding placing them near high-heat zones. On the fuse panel of some contemporary automobiles, there will be open connection points (studs attached to B+). Make a good effort to connect the dots. Remember that every work is a reflection of the person who completed it, so complete it as neatly as possible.
- Connect the light bar to the wire harness.
Continue working on the remaining wires on your harness. They are the LED light bar's connectors. Take them to the location of your light bar. Connect your light bar to the connecting wires (red to red and black to black). Return to your light bar brackets and adjust the angle of the light bar after everything is in position. Once you're happy with the position, secure it by tightening the bolts. Now you can enjoy your updated lighting system just by turning on the light.
Do I need a relay for LED light bar?
A relay is an electrical switch that allows a low-current circuit, such as a huge LED light bar, to control a high-current circuit. You may not need a relay switch if you're using a light pod with a low amp demand, but if you're utilizing a larger LED light bar, you must have one.
How to install LED light bar(s) can be done in just 5 steps. LED light bars are not only practical but they are also affordable. Now you can have a safe and fun off-roading adventure.