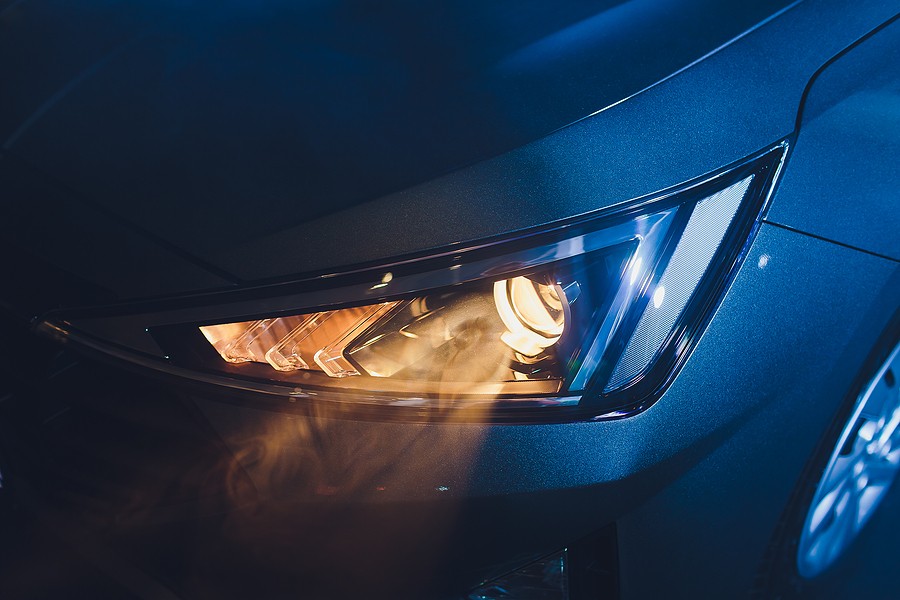
A test light is an electric test equipment that tests a certain component’s presence or absence of electricity. It is just a simple tool but it can give quicker results than other tools. It is commonly used and popular since it is easy to operate, affordable, and is available in many hardware stores. Learning how to use a test light can come in handy whenever you need to check your car’s electrical system. Before we proceed to learn how to use a test light, let us have a quick recap about the basics of your car’s electrical system so we can understand better how it works and why having this tool is essential.
⚠️ If It's Broken, Don't Fix It - Get Paid Cash for Your Vehicle ⚠️

The battery is the one that gives power or electricity in your vehicle when the engine is off and the alternator takes over in supplying the electricity when the engine is on. Everything begins at the battery positive terminal. It then flows to different parts through the auxiliary circuits which have fuses that protect these circuits if a short-circuit should happen. Then there are switches that control the flow of the electricity to the parts of the car that need it such as the lights and the ignition coil and everything goes back and connects to the negative terminal of the battery. All these components and more are all connected with an organized set of wires, connectors, and terminals called the wiring harness. With all the wirings and its complex setup, it will be too hard to know which one is faulty whenever a problem on the car’s electrical system occurs. This where the test light comes in handy, it can make the process of determining what and which part of the system causes the problem a lot easier. It is also known to rule out other possible causes a lot more quicker than the DMM or Digital MultiMeter.
Forewarning
There are old types of test lights that have an indicator that uses an incandescent lamp. This type of indicator tends to trigger a supplemental restraint system if you accidentally probe the wrong wire. You will know what wires to look out for since they are usually marked with a yellow tape or loom and sometimes in a yellow connector housings. So if you see these wires, never probe them using test lights with incandescent lamps. If you do, you might set off an airbag that will cost you a fortune to repair the damages it will cause. That’s not the only thing you need to worry about. If you hit the wrong sensor and set off all the airbags, it could leave your vehicle totally damaged. If you have a vehicle equipped with airbags, make sure that you know what you are doing first before you proceed checking its electrical system with a test light. You can study your owner’s manual or search online for the wiring diagram to familiarize yourself with each symbol that represents the electrical components found in your car. If you are familiar with the wiring diagram you can find shortcuts and save time instead of checking the whole circuit.

How to use a test light to check the positive voltage
Before you start testing your car’s components, you need to check first if the test light is working. To do this, you will have to connect or clamp it to a known ground source. It could be the negative battery terminal or any metal part of the vehicle. You can then proceed to press the test light’s probe lightly to a good power source like a positive battery terminal but any good power source such as the fuse will also work. If its light turns on, then the test light is working just fine and you can continue to test your car’s electrical components.
Testing the Fuse Power of Your Vehicle
Although a test light can’t give you readings like a digital multimeter does, using a test allows you to know quickly which of the fuses have power and which ones have not. To check your vehicle’s fuse power, just follow these simple steps.
Step 1 – Find the fuse box panel of your vehicle and remove its cover. It is usually found under your hood but sometimes it is located on the side or underneath the dash, glovebox, and the vehicle’s trunk. Since the location of the fuse box may vary, you can check your owner’s manual to check where you can find yours. There are also some vehicles that have many fuse boxes. Remember that you don’t have to turn on your engine or the car’s accessories to test a fuse.
Step 2 – Clamp the test light’s clip on an unpainted metal surface of the vehicle. It can be a bolt, part of the hood, or the battery’s negative terminal. If your fuse box panel is located inside your car and you can’t access the car’s negative battery terminal, the metal bolts on your door’s hinges will do.
Step 3 – Pick one fuse to check and gently touch the light test’s probe into one of its holes to test it. If you are hesitant about the fuse you are testing, you can check inside the cover of the fuse box panel. It contains a list of the fuses found in the panel which are listed in numbers and their corresponding locations.
You will know if the fuse is working if the test light lits up. If it doesn’t, it means that it is faulty or has blown up. You can pull the faulty fuse up with pliers or your fingers and replace it with a new, working one.
Step 4 – You can proceed to test the fuse’s second hole. This is done to validate or confirm that the fuse is completely functional. Each hole should be tested so you check the fuse’s power in and power out. If only one out of the two holes makes the test light probe light up, then the fuse is faulty and should also be replaced.
With the use of a test light, you can also check the other circuits of your vehicle such as the alternator, fuel injector, and relays. By using it, you can check these parts directly and get quick results whether a certain circuit is faulty or not. For example, when the car’s warning light is turned on, it can mean a lot of things. It could mean that the battery is faulty, but it could also mean that the alternator or one of its components is acting up. Using a test light can help you check these parts easily, cross out the working ones, and determine which component is damaged. You don’t have to open or have a mechanic check on each one. You can use the same steps as checking the fuse power, place the clip on a ground source and the probe tip on the component that will be tested. When using a test light, avoid short-circuits from happening. This can be prevented by keeping the metal shank of the tester from any other metallic surfaces when testing for positive voltage.
How to use a test light for a ground circuit
The car uses one wire to run all the electricity that is needed for its electrical components and another wire that is grounded to the chassis. Its alternator and its battery are also grounded to the chassis. These wires and the chassis have a resistance but it is relatively small and quite insignificant in the overall function of the electrical system. Then there are these connectors that connect the wires of the electrical system together, and these add up the amount of resistance. Over time, these connectors get dirty, corroded, and loose which leads to a higher resistance. When it becomes great, the devices and other electrical components of the car get less power. The higher the resistance, the lesser the power. This is why knowing how to use a test light to test your vehicle’s ground circuit is as important as learning how to check your vehicle’s positive voltage. When checking the car’s whole electrical system, you will need to check the ground too since it can also become faulty and can cause damages and electrical failures. To check your vehicle’s ground circuit, just follow these simple steps.
Step 1 – Before you can check the ground, you have to check the positive side of the circuit if it has electricity.
Step 2 – Clamp the test light clip to the positive end of the circuit and use its tip to probe its ground wire. If it lights up it means that it has no problem and you can proceed to test the other parts of the circuit. Remember to inspect the ground path rigorously if the test light doesn’t light up. You can check the ground wire’s connecting point and look for any signs of corrosion or dirt build up since it can obstruct the flow of electricity. Sometimes, all it takes is a simple cleaning to fix a problem.
Best automotive test lights
Many are learning how to use a test light because of its simplicity and affordability. Test lights for automotive use can usually be bought around $15. It’s a small price to pay for something that can be used in many ways. To help you choose the perfect automotive test light for you, here is our list of the best automotive test lights that are being sold today.
-
- OTC Mini-Cord Circuit Tester – This mini-cord automotive tester comes with an ergonomic design that has a clear handle and a red replaceable light. It can check 6 and 12 volt systems. It also has a needlepoint steel probe that works well in piercing and back probing.
- Jastind JTCVT-01B – This test light can detect the presence of an electricity in the range of 3 to 48 volts. This heavy duty tester is equipped with an 8.5-inch long probe. It also has an LED light and LCD screen which displays the voltage of fuses or other tested components. Its coiled wire is extendable up to 11.67 feet that allows you to reach far components that need to be tested.
-
- ATD Tools 5513 Heavy-Duty Circuit Tester – This heavy-duty test light can check 6 and 12 volts systems quickly. It has a heavy cord and a strong clamp.
- Katzco Voltage Continuity and Current Tester – This self-powered test light can easily test the components of your car’s electrical system. It comes with a 54-inch power cord.
- OctagonStar 16012 Automotive Bulb Test Light – This test light comes with a large clip that ensures that it doesn’t slip up when you clamp it. It also has a replaceable bulb which means that you can still use it even after the bulb expires.
- INNOVA Test Light & Circuit Tester – Its ergonomic grip design makes the handling of this test light safe and comfortable. It has a 6-foot cable and a 3 color LED screen display.
- Astro 7760 Cordless Computer-Safe Test Light – This cordless, computer-safe test light is easier to use since you only have to probe the circuit you have to test. If all is good, it will simply light up and beep. Its design also makes it easy to carry and keep inside your car.
There are some factors that you need to consider before purchasing a test light. You need to know what type of test light you need. Modern testers have LED light indicators while the older ones use bulbs. Next is the clip size, anything too small might cause it to slip up. If you are using a modern car, keep in mind that some test lights are not computer safe. This means that this type of test light can cause problems on your car’s computer and its other control modules. You will also have to consider the cord length and the operating voltage range. Check your car’s voltage system to determine what type of test light you need.
Conclusion
Knowing how to use a test light will be very advantageous to any car owners since it is probably one of the easiest ways to check the car’s electrical system and its components. A test light is a great tool to have since it is handy and easy to operate. Just follow all the steps, tips, and warnings that are mentioned above to ensure that you will have a positive experience in using a test light.