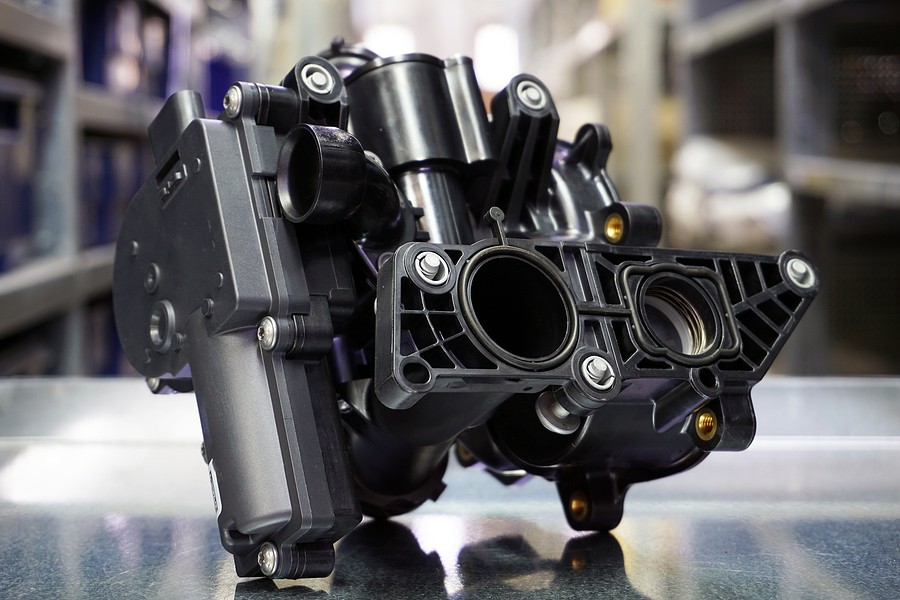
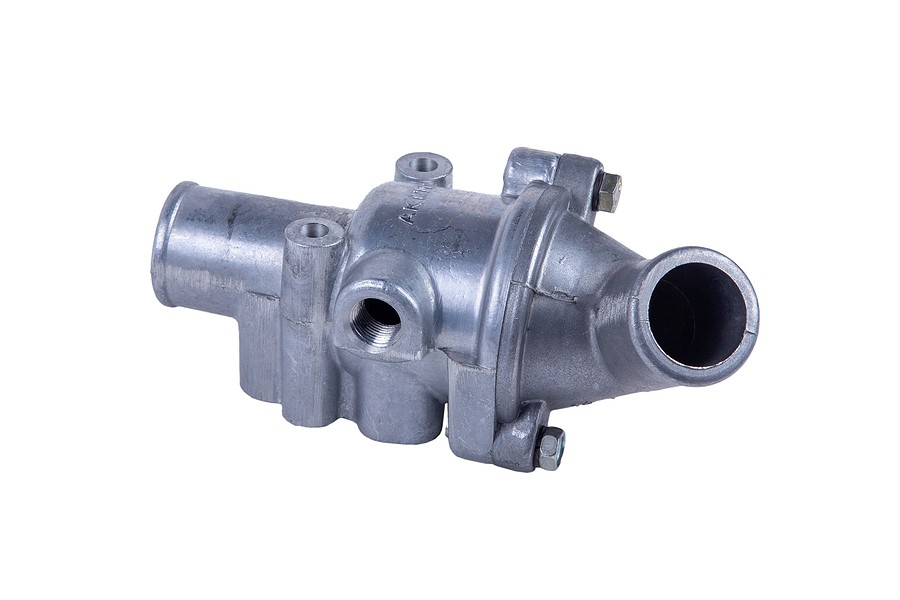
The thermostat housing holds the throttle body and thermostats itself in place. The housing attaches to the engine mounts and keeps everything running smoothly. At some point in time, you might need to replace your thermostat housing if it needs repair.
⚠️ If It's Broken, Don't Fix It - Get Paid Cash for Your Vehicle ⚠️

Replacing your car's thermostat housing is a task that can be completed by most people with a little bit of mechanical know-how. In this article, we will provide you with a step-by-step guide on how to complete the replacement yourself and save on the cost of labor. Let's get started!

What is thermostat housing?
The thermostat housing is the black plastic box that holds the throttle body and houses your car's thermostat. The housing attaches to the engine mounts and keeps everything running smoothly.
Over time, your thermostat housing can suffer from damage or leaks due to corrosion. For example, you might start noticing water pools under your car caused by water leaking from your failed thermostat housing.

How does it work?
The thermostat housing has a spring-loaded mechanism that opens up during cold start to allow coolant into the engine block. Once the engine reaches working temperature, it will close itself off to prevent excess coolant flow into the engine. This is done to maintain the optimal temperature range.
It is cold when you start your car and take time to heat up. The coolant in the engine block is also very cold due to the lower temperature of the surrounding area. This allows extra air into the engine via a check-valve process, which causes rough idling until the right temp is reached.
Once the coolant and engine block reaches the right temperature, the thermostat closes off and allows the necessary amount of coolant to flow through.
Can I replace the thermostat housing myself?
Yes, you can replace your car's thermostat housing yourself to save some money!
The average labor rate for professionals to do this is around $200, so if you have the time and experience in car maintenance to perform this by yourself, you can save a significant amount of money!
Be sure to read the article in its entirety before beginning work on your car to ensure that you are aware of all precautions which must be taken so you do not risk injuring yourself or damaging other parts within your cooling system.
How to replace your car thermostat housing? a step by step guide
Replacing a failed thermostat housing is a fairly simple process but can cause some engine cooling issues. If you notice water pooling underneath your car or have to top off your coolant frequently, then you should consider replacing it as soon as possible to avoid further damage.
Step by step guide on how to replace your car thermostat housing?
#1: prepare your working area
Before attempting to replace your car's thermostat housing, you will need to park the car on a level surface and apply the handbrake. Next, loosen up the bolts that hold down your car's engine covers and remove them from their respective positions.
If you have aftermarket accessories installed, such as a cold air intake or other parts that obstruct access to the thermostat housing, make sure to remove them before starting.
#2: allow the engine to cool down
After you've made it this far, make sure your engine is cool enough before continuing. Let the car sit and wait for at least one hour to make sure everything has cooled down. If your engine overheats during this process, you risk cracking the cylinder head, which will require a full engine replacement.
#3: detach the coolant reservoir
detach the car's coolant reservoir tank by disconnecting all of its lines. Next, remove the bolts holding down your radiator in place and drain any remaining coolant into a clean receptacle. If you do not want to drain all of the coolants, add some water and some baking soda into the radiator. This will neutralize any leftover acid and prevent any future corrosion from occurring.
#4: loosen the thermostat housing bolts
Locate the two bolts that hold your thermostat housing in place and use a socket wrench to remove them.
If you have never worked on a car before, I recommend getting an adjustable crescent wrench to aid you in this process. These wrenches are incredibly versatile and can be used for just about anything. I prefer the crescent style because it allows you to apply pressure at different spots along with the bolt without completely removing your hand off of it.
#5: detach thermostat housing from engine
after removing the bolts that hold it in place, you should easily be able to remove your old thermostat housing by pulling straight up on it. After doing so, inspect the gasket where the housing meets with the coolant hoses and cylinder head. If they appear damaged or worn, it is recommended that you replace them at this time.
#6: clean the surface where your new housing will go
clean the area on which you will place your new thermostat housing. Ensure no debris or dirt particles rest on the metal before attaching the new part.
This will ensure a proper seal and prevent leakage in the future if you have not already done so. If you find coolant leaking from somewhere else besides your previous thermostat housing, use an engine degreaser to clean out any residue left over by old gaskets.
Failure to do so may cause leaks elsewhere within your cooling system and could result in overheating or damage to other components such as your radiator.
#7: place the new housing in place
place your new thermostat housing in position and tighten down the bolts to ensure it stays firmly in place. Reattach all of your components, fill up the coolant reservoir and start your car to allow everything to circulate through your engine properly.
If you see any leaks or air bubbles coming out of the coolant reservoir while starting up the car, stop immediately and inspect what is wrong. This may indicate a faulty gasket that was not placed on correctly during installation.

How often should you replace the thermostat housing?
Thermostat housing needs to be replaced after 80,000 miles or eight years.
You can replace your car's thermostat housing by yourself!
The cost is $20-$30.
you should do it by yourself if the labor charge for this job is more than $100 or if you are having difficulties doing this job.
Keep in mind that if you decide to get the thermostat housing replaced at a professional location, there will likely be a few other issues that need to be attended to, such as replacing the water pump.
Therefore, this job may end up costing you more in labor fees since it is slightly more complicated than simply changing out a thermostat.
However, if your car overheats at any point while driving it, there could be a crack in your engine block, which is not something you want to neglect.
10 symptoms of a bad thermostat housing to watch for
Below you will find a list of common symptoms that indicate problems with your thermostat housing. If you often drive in hot weather, the above symptoms are likely to be more prevalent during this time of year.
#1: Difficulty accelerating
when the car is in neutral. It should automatically go to 3500 rpm with ease.
Suppose you have difficulty accelerating after your car is warmed up. In that case, the problem could be related to your thermostat housing or something that occurs due to its malfunctioning.
#2: Steam from under the hood
you may see steam coming out of the front of your car after driving it for approximately 20 minutes.
if you see steam coming out of under your hood, but the coolant level is full, this could indicate a problem with your thermostat housing.
#3: White smoke from the tailpipe
you may notice that you are producing white smoke even though the engine does not feel like it's running hot.
If you notice any white smoke coming out of your tailpipe, then turn off the car immediately. This can indicate serious problems within other components within your cooling systems, such as gaskets or other parts, which professionals should inspect to avoid further damage requiring costly repairs down the line.
#4: Coolant leaks
it would be best if you also took time to inspect your engine, transmission, and radiator closely for any signs of coolant leaks or other malfunctions.
If you notice a leak, it may be time to get the thermostat housing replaced and all of the other items, which could cause problems in your cooling system.
#5: Coolant low warning light on the dashboard
when this occurs; there may be a crack in one of your gaskets within your car's cooling system.
this will result in overheating and serious damage to other parts if not attended to immediately; therefore, do not ignore this issue and set up an appointment with a reputable automotive service center as soon as possible.

#6:inished gas mileage
you may notice a decrease in the number of miles you can get to a tank of gas, which is an indication that something may be wrong within the cooling system.
assuming this is not due to increased idling or driving in stop-and-go traffic, it could also mean that your thermostat housing needs to be replaced.
#7: Transmission overheating
if you notice an increase in problems with your transmission when driving on high heat days, there may be issues within the thermostat housing or related components.
This will require further inspection by professionals familiar with car maintenance and diagnosis issues associated with your car's cooling systems.
#8: Excessive oil consumption
oil burning is a major sign of a problem within the car's cooling system.
There are a variety of reasons why this could be happening. Still, one of them may be related to your thermostat housing or other components which have been worn down over time and need to be replaced after so many years of functioning properly.
#9: Car idles roughly
this may also indicate an issue with gaskets within the engine which can cause overheating if not attended to immediately.
Do not drive your car in this condition since you may end up damaging it further and requiring expensive repairs from a professional automotive technician for problems that could have been prevented with proper maintenance.
#10: Rough idle when cold outside, the best way to determine whether the problem with your car is related to the thermostat housing is to turn on your air conditioner.
If you see that the idle speed of your engine increases, then there is likely an issue within the thermostat housing or related components which need to be inspected by a professional.
On the other hand, if you notice no change in idle speeds, this may indicate a different problem within your car's cooling system.

How much does a thermostat housing replacement cost?
The average cost for replacing your car's thermostat housing is around $300, depending upon the make and model and where you take your vehicle to be serviced. If you decide to replace it yourself – which we highly recommend – then expect to spend about $50 on new housing and a few hours on the weekend getting the job done yourself.
FAQs about thermostat housing replacement
Here are some common car questions with answers to help you process what has been discussed above.
Does replacing your thermostat housing require special tools?
No, the only tool you will need is a wrench or socket set.
How long does it take to replace a thermostat housing?
It will only take about 5-6 hours to complete the job if you replace the thermostat housing on your own.
Can the part be purchased at a local auto parts store?
Yes, most automotive retail stores will have this item in stock if you need to replace it yourself.
What is the function of thermostat housing?
The thermostat housing is a component of your vehicle's cooling system, consisting of a cylinder with an opening where the temperature sensor goes and a rubber gasket.
This component is responsible for receiving coolant from the radiator and then sending it into the engine.
The housing helps to regulate the temperature within your car by allowing a set amount of coolant to enter the engine at this specific temperature.
What factors can cause a car's thermostat housing to fail?
Some common reasons why your car's thermostat housing may not work include exposure to extreme temperatures, exposure to corrosive materials in water, or high humidity levels.
Repairing this component can be expensive since it entails removing parts within the entire cooling system, including the radiator.
Because of this, it is better to take care of this problem as soon as you notice symptoms that indicate that your car's thermostat housing may be failing.

Conclusion
The car thermostat housing is an important component of your vehicle's engine and must be replaced or repaired if damaged. The article provides you with a step-by-step guide on “How To Replace Your Car Thermostat Housing?”
Follow the instructions carefully to avoid damaging other parts of your automobile!